How to Propagate Stephanie Golden Camellia from Cuttings
In our rows this season we snipped a stem tip off a Stephanie Golden, laid it on the bench, and a customer asked the obvious question: why would a piece of cut wood ever grow roots? It has no root system and no way to drink, yet its leaves keep losing water every hour. It can still root, and the reason explains almost every step of the method.
Getting it wrong costs months, because camellia cuttings root slowly and tend to rot or dry out long before you can tell. Getting it right gives you exact copies of a plant whose hot pink, semi-double flowers you already like.
We'll walk you through how the stem builds roots and when to take it, then how to cut, wound and stick it, and finally how to keep it humid, check on it and pot it up.
How Stephanie Golden Camellia Grows Roots From Stems
A stem cut from a living shrub still holds living tissue, and plants respond to injury by sealing it. The cut surface of a Stephanie Golden stem first forms callus, a pad of undifferentiated cells that protects the wound. Roots then form from stem tissue near the base, which botanists call adventitious roots because they grow from a part that does not normally make them.
Callus Is Not Roots
Callus and roots are separate events, and gardeners confuse them constantly. Callus can form on a cutting that never roots at all, so a pale, lumpy base tells you the stem is alive, nothing more. The plant hormone auxin, which collects at the base of a cut stem, pushes some of those cells to become root tips. That is why we use rooting hormone later.
Why the Leaves Help and Hurt
The leaves you leave on the cutting make the sugars that fuel callus and roots. They also lose water through their pores, and with no roots there is nothing to replace it. Every decision in this guide balances those two facts: keep enough leaf to feed the stem, and keep the air around it humid enough that the leaf does not drain it.
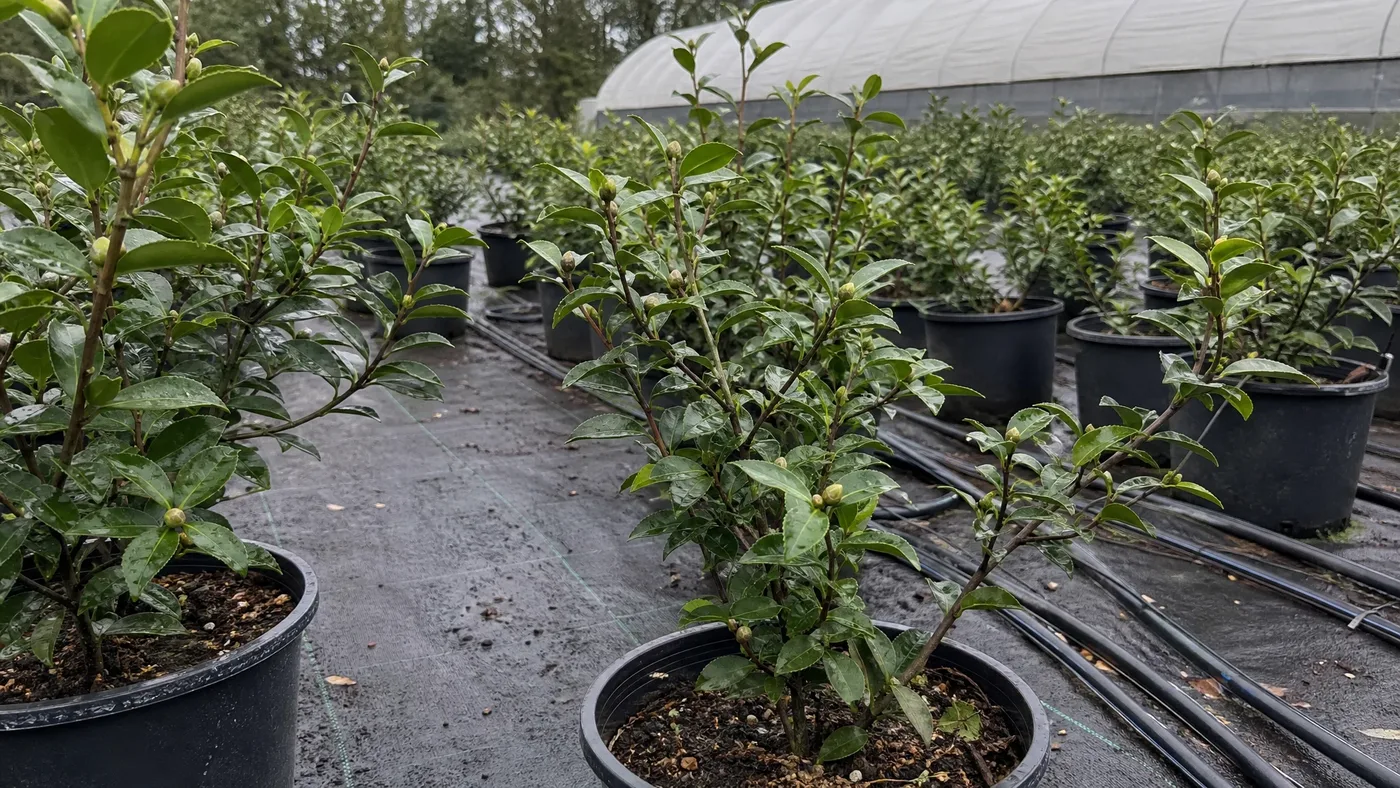
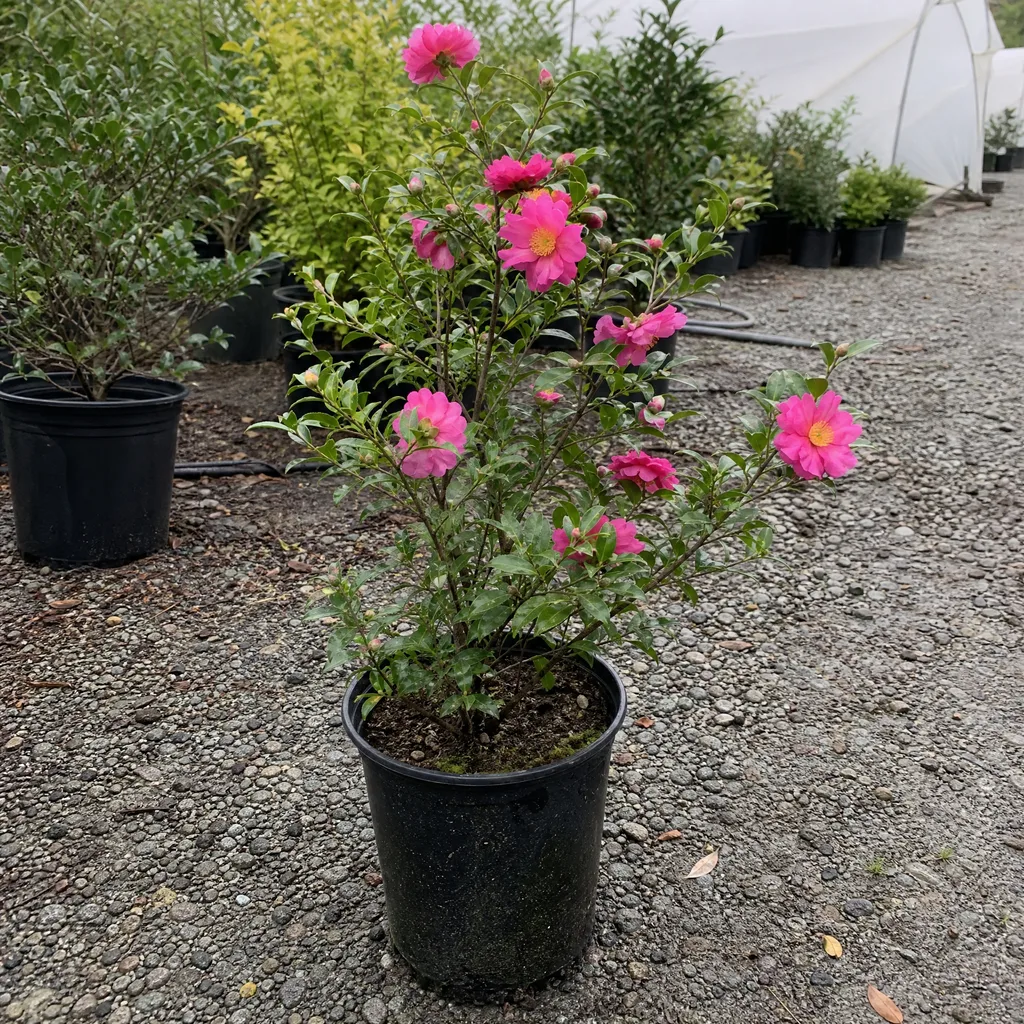
Two traits of this cultivar matter here. Extension listings describe Stephanie Golden as upright, dense and vigorous, so a healthy plant gives you plenty of this year's shoots to choose from. And because it is a named cultivar, a cutting is a clone with the same hot pink flowers and yellow stamens. Seedlings from a sasanqua will not reliably match the parent.
Why the Fall Bloom Flush Sets the Calendar
Stephanie Golden is an early-to-midseason bloomer, and sasanquas in general flower sometime between September and December. During the flush, the plant spends its reserves on buds and petals. Cuttings taken then compete with that effort, and stems carrying flower buds tend to put energy into the bud instead of the base.
So the calendar has a simple logic. Wait until the flush is finished, then take the shoots that grew this season and have firmed up. Those are semi-hardwood. Wood that is still soft and floppy wilts before it roots, and old gray wood roots far more slowly.
One of the most common questions we get is whether to wait until spring. We say take them once the flowers fade, while the plant still has a full set of leaves and this season's shoots are at their best. Cutting-time pruning also does you a favor. Pruning right after flowering is the standard advice, as we explain in our pruning guide, so your trimmings can become your cuttings.
If you are unsure of the exact window in your area, bloom dates shift with the weather. Our bloom timing guide will help you judge where your plant is in its cycle.
Choosing Semi-Hardwood Stems From Stephanie Golden Camellia
Camellia sits in the broadleaf evergreen group that the University of Georgia Extension says is rooted from semi-hardwood cuttings. In practice, the stem should be firm and slightly woody at the base, green or lightly tan, and still flexible toward the tip. If it snaps cleanly when bent sharply, it is a little too hard. If it folds over, it is too soft.
Choose healthy shoots from the outer, sunnier part of the plant, with glossy dark green leaves and no spotting, sooty film or scale. Skip any stem with a fat flower bud at its tip. Cut in the morning if you can, when the stem is full of water, and keep the pieces in a damp paper towel or a closed bag until you are ready to stick them.
Prepare Each Cutting
Work with a sharp blade wiped with rubbing alcohol, since a clean cut heals faster and carries less disease. Follow these steps:
- Cut a shoot a few inches longer than you need, just below a leaf node, where the stem is naturally rich in root-forming cells.
- Trim it to 2–3 inches.
- Strip the lower leaves and leave the ones at the top.
- If the remaining leaves are very large, expect more water loss and be extra careful with humidity later.
- Keep the prepared cuttings moist until you wound and treat them.
Take more than you want plants, because losses are normal. We come back to that in the last section.
Wounding, Hormone and the Rooting Medium
Wounding means scraping a thin sliver of bark from one side of the lower stem, just deep enough to show the green layer beneath. This exposes the actively dividing tissue where callus and roots start, and it gives the hormone a better path in. Make one shallow cut and no more, because a deep gash invites rot.
Use Hormone at the Right Strength
For semi-hardwood stems, the UGA bulletin says auxin concentrations of 1,000 to 3,000 ppm are used, with a maximum of 5,000 ppm. Read the label on your product for its strength. More is not better, since too much burns the base. Pour a little powder into a separate dish, dip the wounded end, tap off the excess and discard the dish contents afterward so you do not contaminate the jar.
What the Medium Must Do
A rooting medium has to do three jobs: stay evenly moist, hold air around the base and be clean. Camellia roots rot quickly in soggy mix, and the University of California IPM program notes that root disease is favored by poor drainage, long wet periods and standing water. Use a fresh, coarse, fast-draining blend such as perlite with peat or bark, never garden soil.
Moisten the mix before sticking, make a hole with a pencil so the hormone does not rub off, push the cutting in about a third of its length and firm the mix lightly. Camellias favor acidic conditions, and the University of Florida extension gives a pH between 5.0 and 6.5 for the plants, so avoid anything limed. Our soil and drainage guide explains why drainage matters so much for this shrub.
Building the Humid Chamber for Slow Rooting
Because the leaves keep losing water while the stem has no roots, the goal is to slow that loss until roots form. A humid chamber does it. Put the pot in a clear zip-top bag or under a clear plastic or glass cloche, and mist as needed so the air stays humid until the cutting roots.
Sasanqua cuttings root slowly, so plan for weeks and probably months, not days. That long wait is why the chamber must be stable. Check your local extension service for typical rooting times in your area.
Light and Warmth
Give the cuttings bright, indirect light, such as a shaded bench or a bright window with no direct sun. Direct sun turns a clear bag into an oven and cooks the leaves in an afternoon. Gentle warmth at the base speeds callus, so a spot that stays above chilly outdoor air helps, but avoid a hot windowsill.
Keep the Chamber Healthy
A sealed bag holds moisture and fungi along with it. Open it briefly every few days to let fresh air in, wipe off heavy condensation and pick out any leaf that has dropped or gone gray and soft. A single rotting leaf can spread to the stem next to it.
Reading Root Progress Without Disturbing Cuttings
The hardest part is leaving the cuttings alone. Pulling one up to check tears off the new, brittle roots that took weeks to form. In our rows, the cuttings that fail most often are the ones someone kept lifting out to look.
Read the pot instead. Look through a clear pot wall or the drainage holes for white root tips, and judge the leaves and stem from above. This table covers the signs we use when troubleshooting by phone.
| What you see | What it usually means | What to do |
|---|---|---|
| Leaves glossy and firm, no change | The cutting is alive and still working | Leave it alone and keep the chamber steady |
| White root tips at drainage holes | Roots have formed | Start opening the bag slowly |
| Leaves wilted and dull | Humidity too low or the base has dried out | Mist, reseal and move out of any direct sun |
| Stem base black or mushy, leaves yellowing | Rot from wet mix or poor air movement | Discard it and replace the mix before starting again |
| New leaves opening on top | A hint, not proof, since stored energy can push growth | Wait for roots before acting |
When you do test, wait until growth or roots at the holes suggest it, then give the stem the gentlest tug. Light resistance means roots are gripping the mix. If it comes up free with a clean, callused base, push it back in and wait.
Moving Rooted Stephanie Golden Camellia Cuttings Into Pots
Once a cutting shows roots, harden it off, which means weaning it from the humid chamber. Open the bag a little more each day over a week or so, then remove it. Water the cuttings through the transition because roots this young cannot keep up with a dry mix. If leaves droop, close the chamber for a day and slow down.
Then pot each one into its own small container with an acidic, well-drained mix rich in organic matter. Handle it by the leaves and keep the rootball intact. Set the pot in bright shade, keep the mix evenly moist and let the plant settle. Our container guide covers pot size and mix in more detail.
When to Plant Out
Clemson Extension says camellias can be planted year-round, but the preferred windows are October to November and March to mid-April, with proper mulching and frequent checks on water. Do not rush a cutting into the ground the moment it roots. Wait until the pot is filled with roots and the plant has grown on, usually a full season.
The first winter calls for care. The species is listed for USDA zones 7a–9b, though the cultivar's own hardiness is not listed, so young plants deserve protection. See our winter protection guide for how.
Stephanie Golden Camellia Cuttings, Start to Finish
The cycle runs in one direction. Wait for the bloom flush to end, choose firm semi-hardwood shoots, trim them to 2–3 inches, wound, treat with hormone and stick them in a clean, fast-draining mix. Hold them in a humid, bright-but-shaded chamber, read progress from the outside, and pot up only when roots are real.
Expect to lose some. Not every cutting takes, so start with several times more than the number of plants you want, and treat any surplus as a bonus. A young plant is ready for the garden after it has filled its pot and grown on through a season, planted in one of the preferred windows.
Stephanie Golden Camellia
Nursery-grown Stephanie Golden Camellia in sizes from 2.5 Quart, shipped to your door.
From $37.93
Shop Now →Stephanie Golden grows well for us on our farms in acidic, well-drained soil rich in organic matter, with a little cover from the hottest afternoon sun, and rooted cuttings from your own plant will settle in under the same care. Growing and selling top-quality camellias and other shrubs is our work as a small business with farms of our own. When your young plants are ready for the ground, we would be glad to have you look through what we grow.